Pages

Thursday, July 2, 2015

Stay At Home VBS


We were all so stoked for VBS this year, but when we found out that I would have a surgery the week before our church had their VBS, our plans changed. I thought I would still be able to do VBS with our church until the Friday before, when I admitted to myself, and my family, that I wasn't going to be able to do it.

Since I was barely able to walk for the first half of our "Stay At Home VBS", most of these activities are easy to do/prep sitting in a recliner.

Thankfully, Lifeway has their curriculum, to a certain extent, on their blog. Mix that, Pinterest, and a little imagination, and we were on our way "Off The Map." (That was the theme for this year...)

So here is our week!

Day 1

Making her bag to hold all of her treasures for the week 


With scrap material I had laying around, I cut and sewed together a vest.


My little explorer!


Making Binoculars
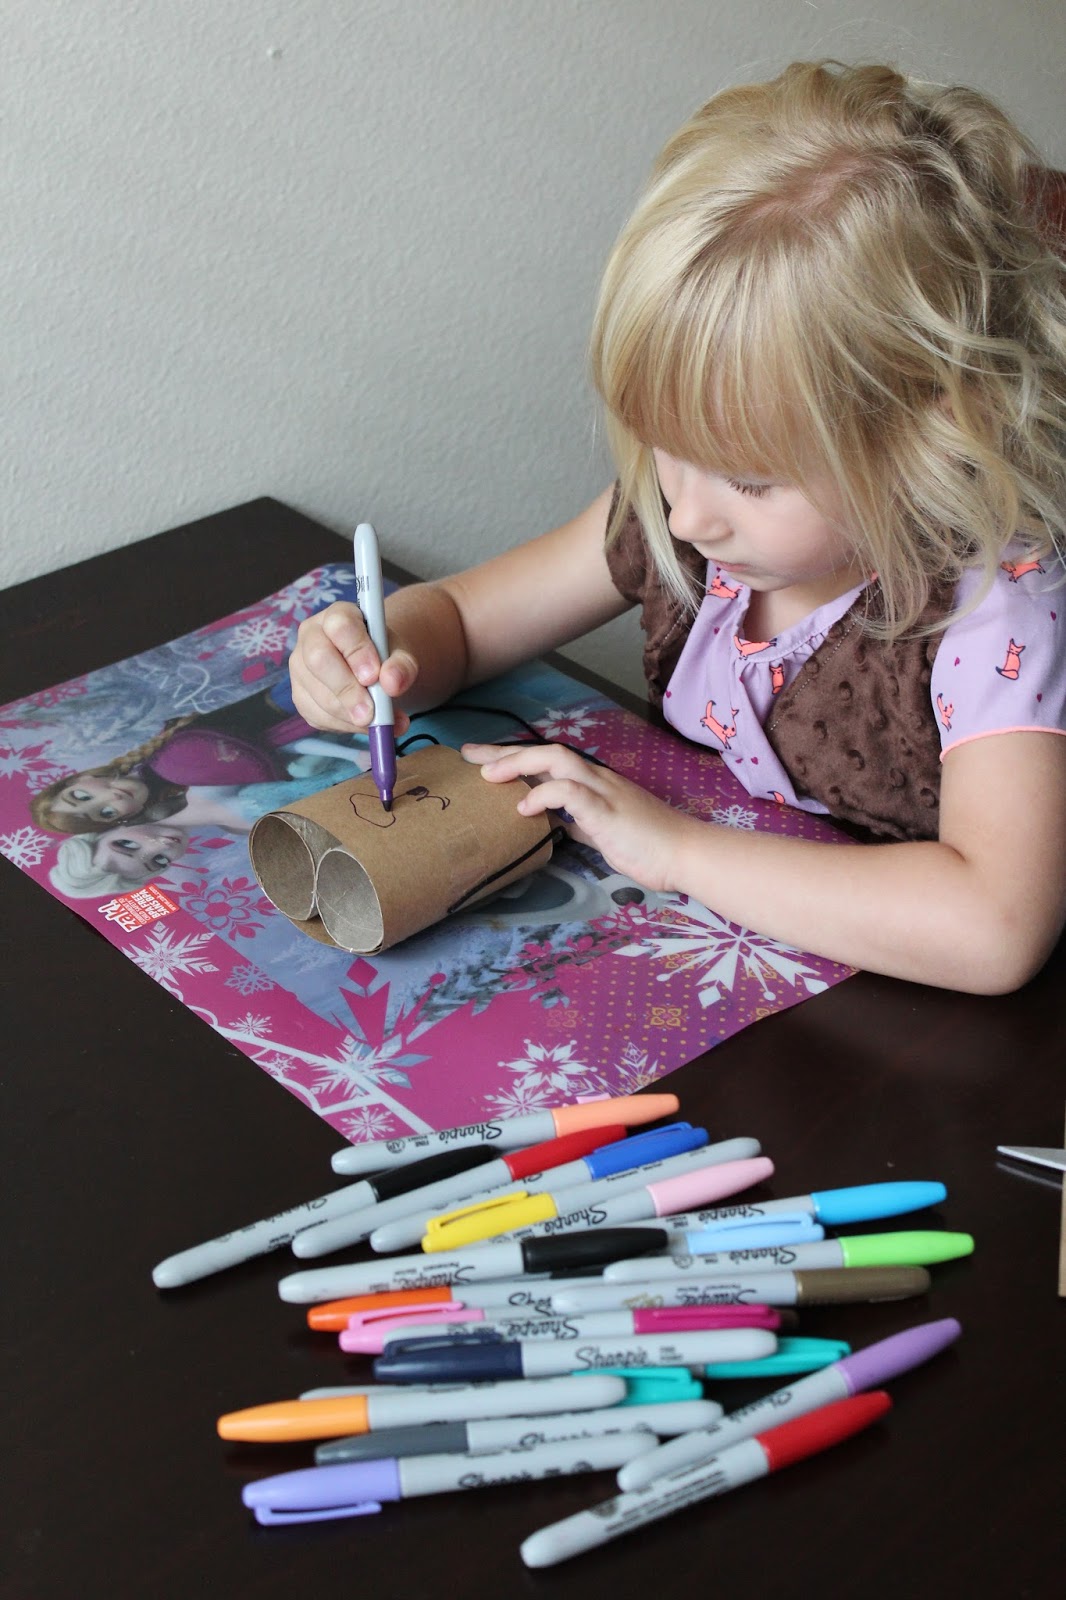


Ready to go!


Picking leaves and twigs


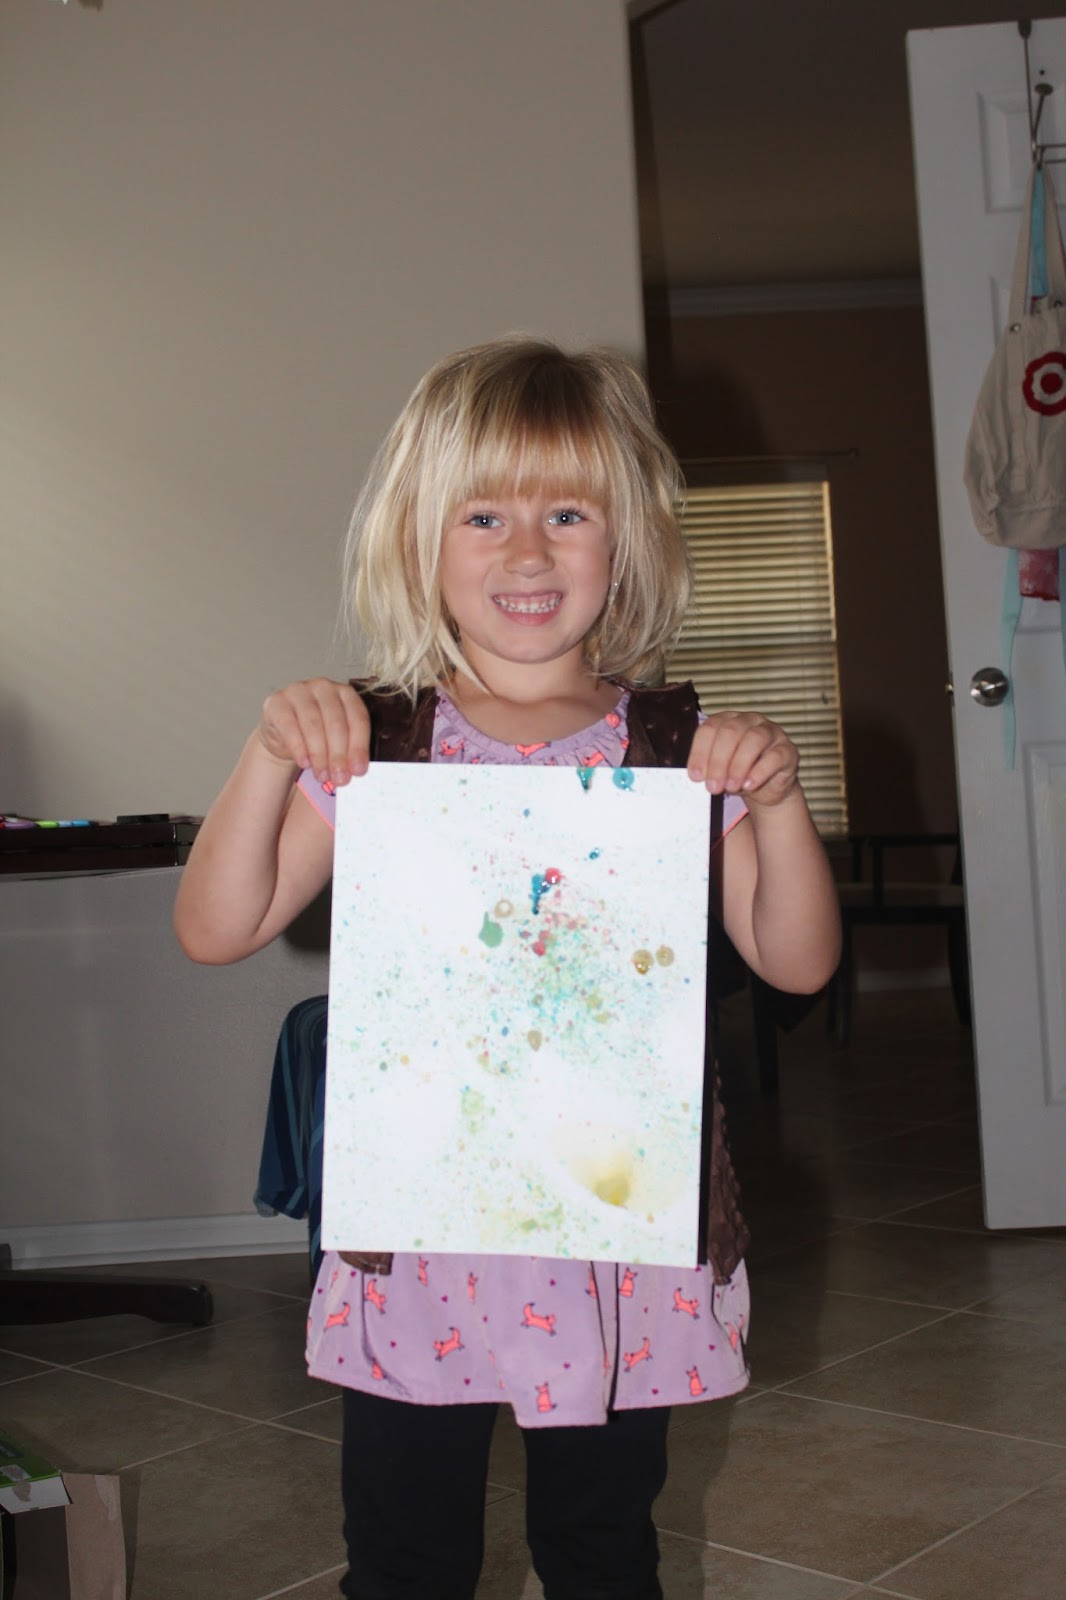
Art project with colored bubbles (food coloring and bubble mix)


We even watched the music video for the day via YouTube


Her first badge was a campfire (all you need is sharpies, cardstock, glue and scissors)


For memorizing her Bible verse for the week, she got a badge!

Day 2


Making a compass because we "Follow" our guide ;)


Next we made a rain stick for our "adventure walks"


All you need for this is a paper towel tube, rice, tape, stickers and markers


Next she made her badge for the day.... a compass


Day 3


First up, we made a firefly sun catcher. (we used cardboard, scissors, white glue, water, saran wrap, and tissue paper)

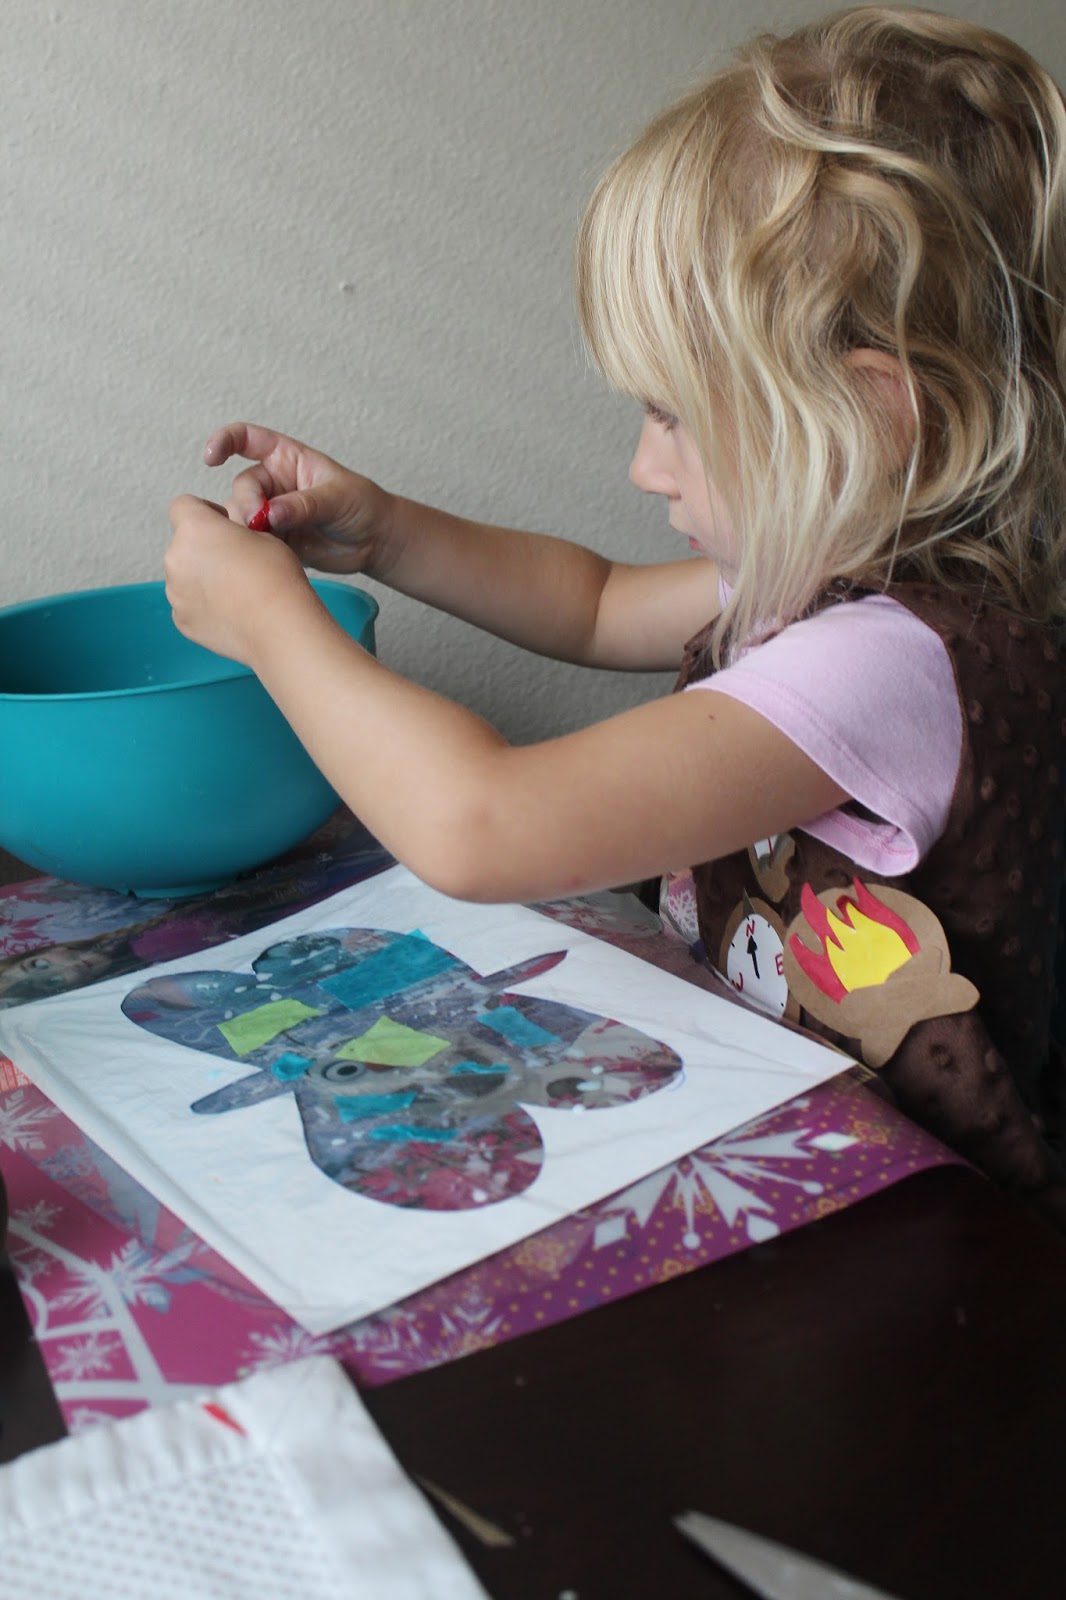


I cut 2 identical silhouettes of a dragon fly, one for the front,  one for the back, with 2 saran wrap pieces, and the wet tissue paper in the middle.


And of course, a dragon fly badge!

Day 4 and 5 (we combined them)


She made a lion badge (because we learned about Daniel and the lions) and a cross with a heart badge (because Jesus cares for us)


And That was our week!


Friday, June 5, 2015

Reward Chore Chart


We've gone through our fair share of reward charts, sticker charts, chore charts, etc... This time I wanted something that would last, and something that wasn't completely an eye sore.

In come Pinterest!! As usual, I combined several ideas to make something that would fit our family best. (Because really, that's what Pinterest is for.. right?)

I really liked the idea of a magnet board, so that it is reusable. I also like the look of wood and chalkboards. So here's what I came up with!!


Making it was super easy! Here is what I used:
-An old cookie sheet
-1 can of chalkboard spray paint (I also used chalk markers..)
-1 pack of small round, adhesive backed magnets
-1 pack of wood circles (they call them nickels?)
-Wax paper
-Printer
-Google
-Imagination!

I sprayed my cookie sheet and drew my lines and letters. Then, meaning a week later, I got on my computer and designed the "buttons". Once they were all designed, I placed the magnets on the wood circles and printed the designs (flipped) on wax paper (I taped my wax paper to regular paper to keep the wax paper from rolling). After I had my designs printed out, I cut each design and carefully placed each individually on a circle. (***Be careful for this.. once you place the design, DON'T MOVE IT! it will smudge like crazy) Once the design is placed on the circle, press firmly on the design until the design is properly transferred.

Voila! Done!

Friday, March 27, 2015

Easter Shirt (Kid DIY)


So this DIY project is almost completely kid done. 

I started by turning my trusty Silhouette on, and had it cut out, on vinyl, 2 bunny silhouettes. Once it was done cutting, I peeled them off the backing and placed them on the shirt.


 I got the work surface ready, mainly to save on clean-up after, by cutting up a mailing box. I cut an insert to put inside the shirt to prevent "bleeding", and I used the rest of the box underneath everything.


Hobby Lobby had little containers of fabric paint that are perfect for this project. (Having a coupon for it is always a plus!!) For painting, I used q-tips. You can use pencil eraser tips, or dabbers, also.


AND.... I let her go!


Once she was all done, I carefully peeled off the bunnies.


Monday, January 5, 2015

Apple Monkey Bread Muffins


This is a combination of a few recipes... but oh my!

They are delicious!!

What I love most.. other than the delicious taste... is the ease of this recipe.

Here is what you need:
1 can Pillsbury flaky cinnamon rolls
1 1/2 teaspoons cinnamon
1/2 cup sugar
1 tart apple, peeled and diced
1/4 melted butter

Preheat oven to 350 F

 Cut your cinnamon roll doing into 6ths

In a medium bowl, mix sugar and cinnamon

Add dough and seperate, coating it in the sugar mixture. Add diced apples and coat everything in the sugar mixture.
 Pour melted butter in bowl and mix until everything is coated.
 Once everything is coated in butter, put cupcake liners in a cupcake pan. Add a handful of mixture to each cup.

Bake for 20 minutes until the tops are golden brown. (And your house is smelling yummy!!)

Voila! Enjoy!

Friday, December 12, 2014

Dress up Storage Armoire


I am beyond excited about this project.  I really wanted to have a nice storage solution for all of Abby's dress up stuff.  So I went on a search,  through goodwill after goodwill, Craigslist,  even a garage sale or two. After weeks of searching and finding nothing, I had a gut feeling to go to a place I found online. Turned out it was closed but there was a place right beside that was a resale shop, so I went in. Low and behold, there it was. Better than I thought I could find!


Needless to say Abby and I were thrilled to bits that we found this awesome hutch!


Then we, as in my hubby, father in law and I, went to Home Depot to get supplies!


And on to measuring and cutting!


Then the hubby, since he doesn't trust me with his power tools ;), put the pieces together.


And voila! 


After two coats of paint to match the rest of Abby's room, it was ready to have the tension rod put in.


This was such a fun project. And the best part is that Abby loves it. Merry Christmas to all!! :)

Monday, November 24, 2014

Snowball Fight!


In preparation for "The Great White North", aka Canada,  I wanted my kiddo and my nephews to practice their snowball fighting. Of course I didn't want a ton of mess, as they will be practicing in a hotel after we do our Texas family Christmas Thanksgiving weekend.

Enter Pinterest! Duh... fabric snowballs!

Here's what you need:
Scissors
Rounded diamond (almost lemon shaped) pattern
Sharpie
Stuffing
Glittery felt (found at hobby lobby for 1.43 after coupon for 1/4 yard!)
Sewing machine
White thread

(Since I already had the stuffing from a previous project, the whole project cost $1.43 total!!)

I started with a rounded diamond shape as a pattern for my balls. Each ball needs 4 of these shapes.

I traced the shape as many times as I could, which gave me 10 balls in the end.

After all the tracing came the cutting.


Once all the pieces were cut, I was able to start seeing. (Make sure you sew with the glittery side in) sew 4 pieces, each attached to another by one side. For the last two seams, make sure to leave a slot for stuffing.


Now onto stuffing. My first couple I didn't stuff very much, which made it easier to sew but left them softer. My suggestion is to stuff them enough that they are firm, but leave room to sew the ball shut.


And there you go!! Now you have your balls! 
(I had a Santa basket that I bought as a photography prop that worked great to hold these!)